5 Key Tips for Building the Perfect Moodboard
Do you love a good moodboard? Moodboards are an invaluable part of the renovation process. They provide a design roadmap and help to ensure all the elements work together. They also make it easy to identify if something doesn't work before you make a costly investment. Aesthetically blending flooring, paint, wallpaper, finishes and furniture can sound easy but many people find it overwhelming. As part of their 2021 Style Watch Influencer Campaign, Flooring Canada sent me a design kit full of amazing flooring samples and accessories to build a moodboard for our beach bunkie and to give some tips along the way. So, today, I’m sharing my 5 key tips for building the perfect moodboard:
Step 1: Think about the use of the space and the look and feel you want to achieve. Whether it's a French farmhouse kitchen, a masculine cigar lounge or a beach bunkie, some spaces have an innate mood they naturally convey. In our case, with the beach bunkie, I wanted a light, airy sun kiss feel with layered textures. Think about your space, the use of the space and what speaks to you the most about it. Perhaps it's a giant bay window or a unique fireplace that you want to highlight or hide. Write down some notes about what you want to achieve and some adjectives about how you want the space to feel. This will help in step 2.
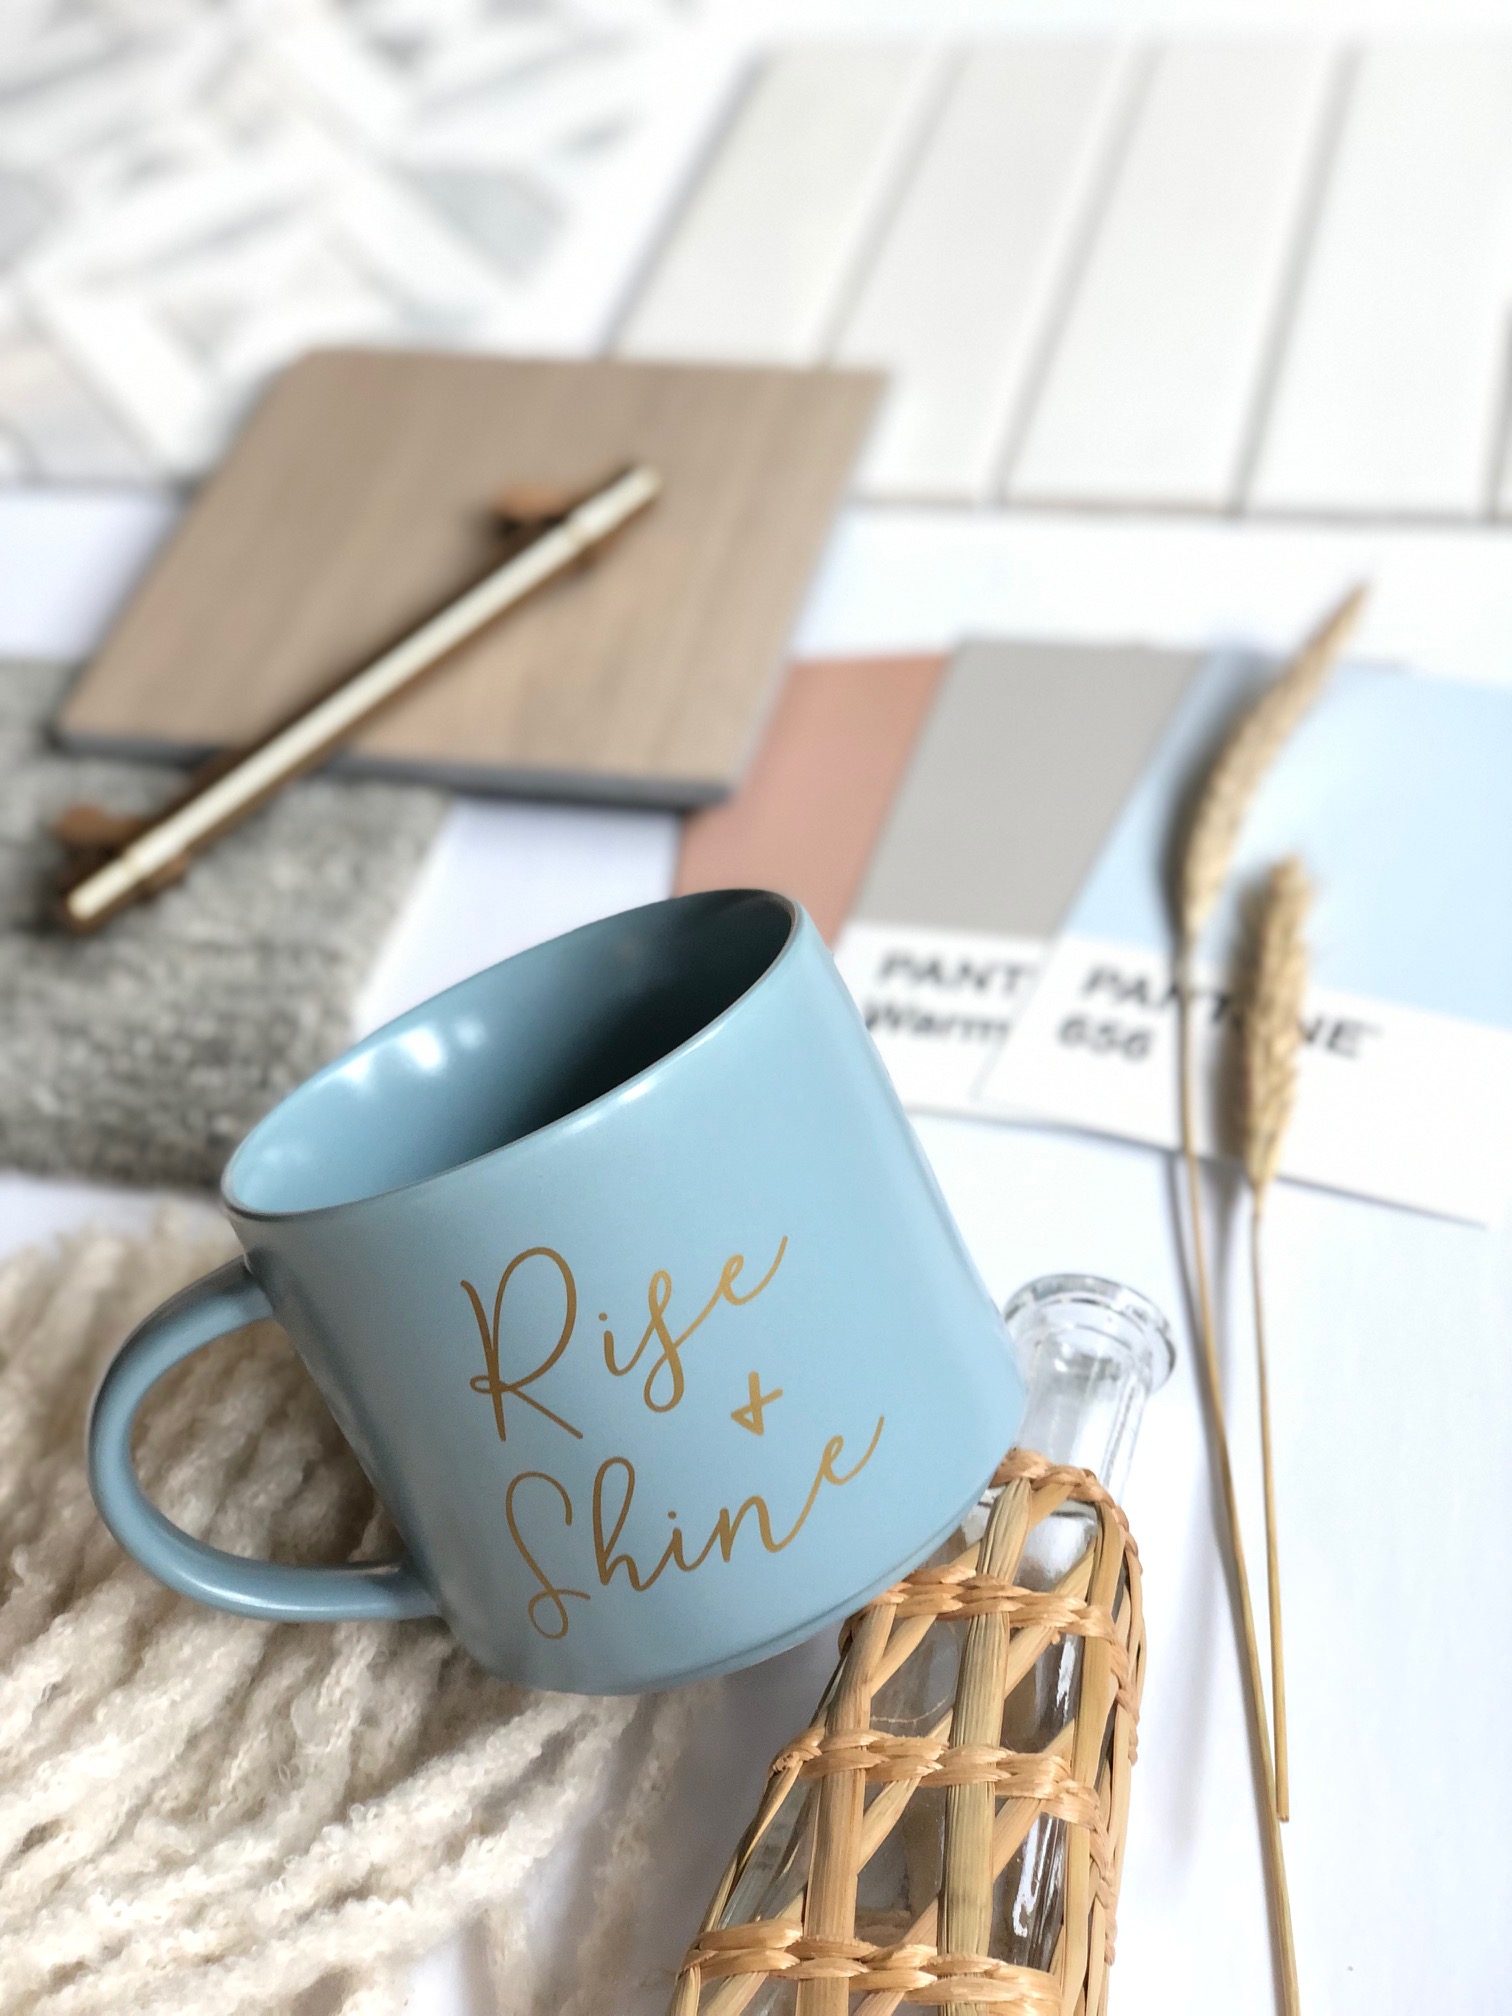
Step 2: Layout all your samples and inspiration. Pull out all your flooring samples, all your paint chips, all your hardware and anything else that inspires you and put it on a table. Keep in mind your inspiration doesn't need to be limited to decor. It can be an old postcard, a trendy necklace or even a piece of drift wood. Inspiration can spring from just about anywhere. I was pleasantly surprised to find a bunch of inspiration items in the design kit from Flooring Canada; a gorgeous yellow throw, a blue mug, a paint fan and some colour swatches. Putting it all out on a table in front of you can really help draw your eye to what you’re attracted to and what naturally goes together. Pull things aside that align to the notes you wrote down in step one, even if you’re not sure they’ll be incorporated.
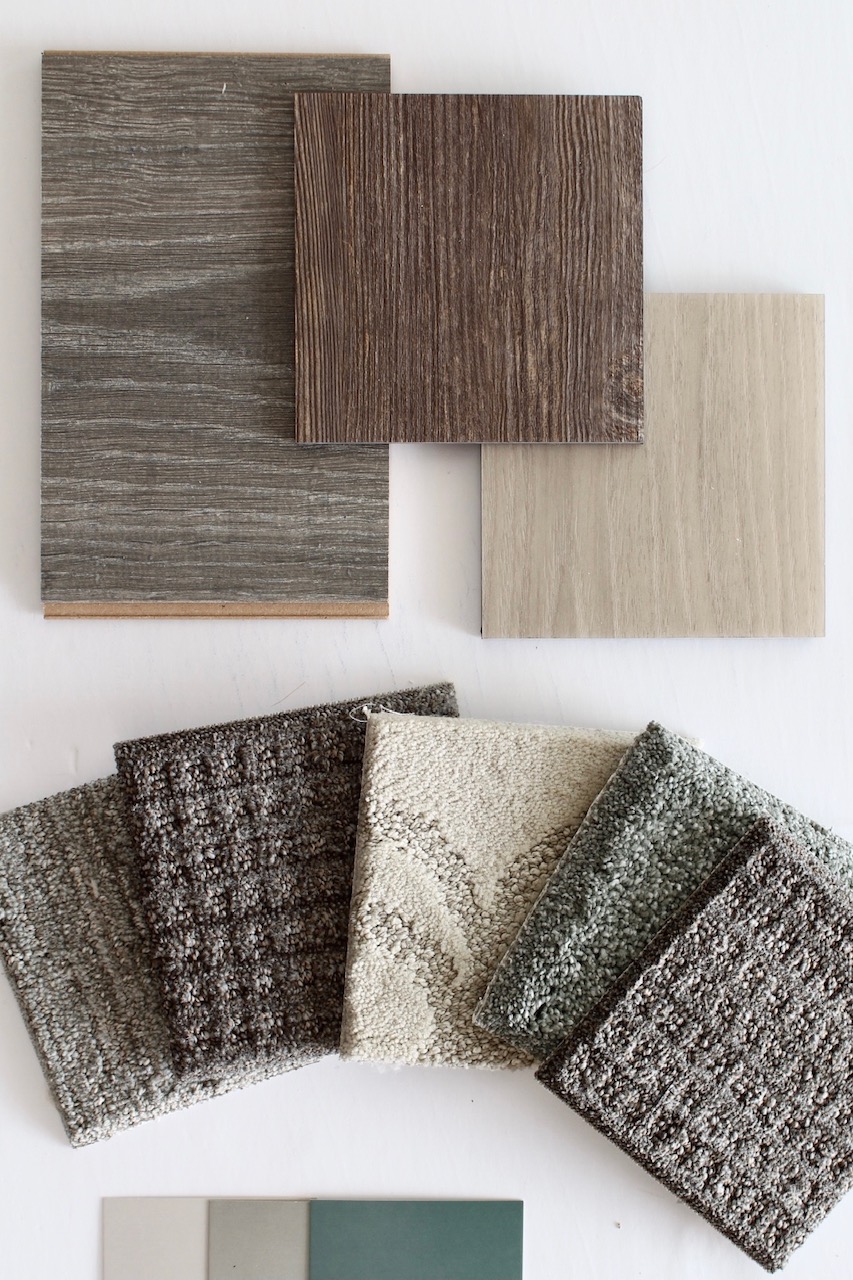
Step 3: Select your flooring. Flooring Canada knows an elevated sense of style starts with your floor. And since Flooring is such an integral element in a space it is important to get it right. I always start from the bottom and work my way up when I create my moodboards. You can always go back and change it but this is a great starting point and lays a foundation for the space overall. For my bunkie moodboard I was able to select from a few different samples that Flooring Canada sent me. Flooring Canada carries a wide range of flooring in varying styles, colours and product types. Since I wanted my bunkie to have a beach feel I wanted a light coloured floor preferably in a hardwood or a luxury vinyl plank. Hardwood flooring has beauty and strength and vinyl plank flooring offers an elegant appearance with enduring value. In the end I went with this gorgeous Galvanite Paramount Plank in Scree. I also selected a beautiful carpet sample for the bedroom in the bunkie. Again I wanted to keep it light and airy so I selected a carpet flooring in Resista 3.0 Swagger in Pennicott. These two samples really helped pull the entire look together.
Step 4: Play around with the Layout. When it comes to moldboards there are various ways to layout the items. It can be perpendicular (everything square and on right angles) or collaged on top of each other or laid out per the space (e.g. with the furniture in roughly the right space in relation to each other). Try different layouts and see what works best for your space. The layout of the moodboard can often convey part of the mood of the space, for example, a right angled rigid lined moodboard can convey a more modern cool space where as a layered moodboard can have a more whimsical cozy feel. In addition, you can layout a moodboard virtually with images online or with actual samples on a white board on your dining room table (as I did with my beach bunkie moodboard). Whatever way you choose be sure to print off the final look and have it with you while plans get underway.
Step 5: Edit. This might come part and parcel with Step 4 but often the biggest challenge in creating a moodboard is editing, understanding composition and the value of white space. Yes, you can try to put everything you want onto a moodboard but if it the end result doesn’t give you the look and feel you want then it’s not accomplishing it’s job. After all, a moodboard is suppose to create a “mood”. Don’t be afraid to edit and redo. Try different things. Step back and squint (I don’t know why this works but it does). Once you’ve confirmed your moodboard let it be the compass for your project moving forward. With any trinket or accessory you find, if it doesn’t align to your moodboard then it won’t work in the room.
So without further adieu, here is the final moodboard for our beach bunkie, light airy and cohesive. I love the way the greys in the mosaic tile plays off the tones in the flooring samples and how the muted green accent colours hint at the ocean air. It gives me all the feels.
 In the words of Flooring Canada, no matter where you want to go with your style, start here. Flooring samples are a great jumping off point and help pull everything together. Happy moodboarding!
This post is in partnership with Flooring Canada. All expressed opinions are my own.


0 comments