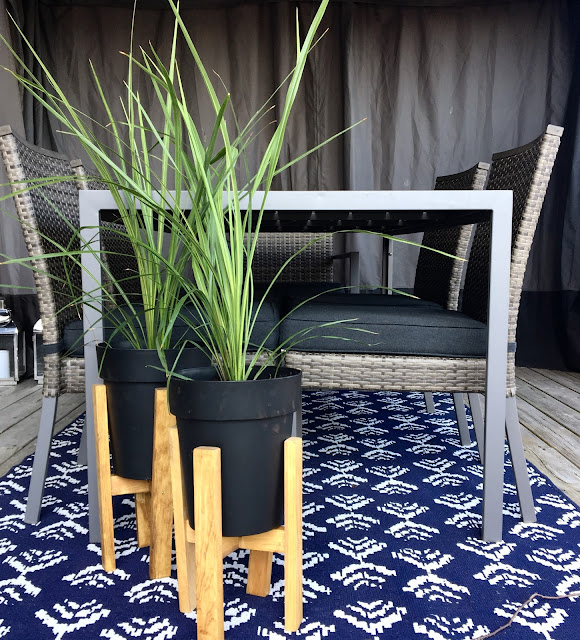
DIY Wooden Plant Stand
It's finally patio season! Seriously I think we skipped spring and moved right into summer. No complaining here. Last weekend we put out our patio furniture and it really got me in the mood to spruce up our patio. I decided to make some DIY wooden plant stands.
I know this isn't a huge project but it totally intimidated me. Luckily the folks at Home Hardware made me feel like I could do it. I partnered with them to create this DIY wooden plant stand, they provided all the supplies and moral support. The one thing I've always loved about Home Hardware is that each store is locally owned and operated so you really feel like they're part of the community. My local Home Hardware is the Allandale Home Hardware and each visit is a great experience.
Here are the items I used to create this DIY Wooden Plant stand: two pieces of 2x2 of hobby pine, two black pots, a hand saw, a hand sander, gorilla glue, a chisel, nails, a hammer, minwax stain in golden oak, sealer and some plants.
First, I measured the bottom of my pot (Note: I added a half an inch to each side to account for the angle of the pot). It was approx 7".
Then I marked off two 7" pieces on my board and divided the remaining board in to four equal pieces for the legs of the plant stand. I cut all the pieces using a hand saw (and then switched to a jig saw half way because I'm a wimp). Once all my pieces were cut I used the hand sander to smooth the edges.
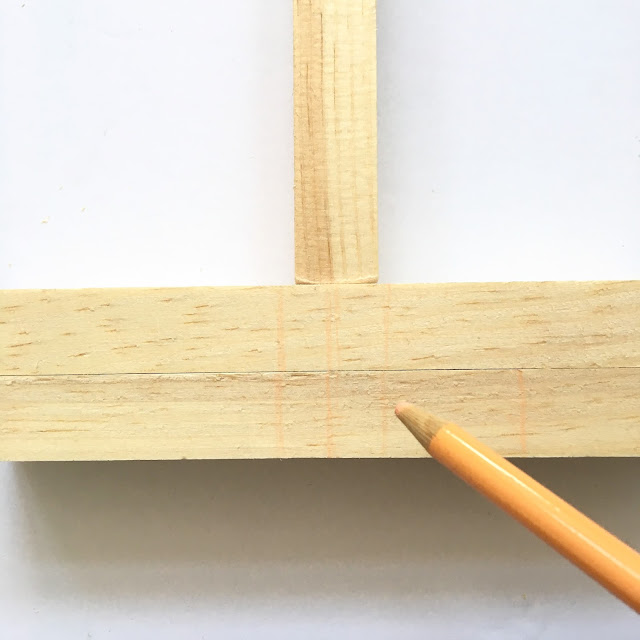
Next I had to notch out the center of my 7" pieces so they could lay within one another. I started by marking the width of wood in the center.
Then I used my hand saw to cut down the edges on either side of the notch.
Then I used my chisel and hammer to push out the notch.
That was the toughest part for sure. Here are finished pieces ready to assemble.
I used glue and nails to assemble the wooden plant stand together. Having done this once I suggest screwing the center pieces together at the end for extra strength.
Finally, I stained my DIY wooden plant stand with Minwax Golden Oak and used a polyurethane to seal it.
I love the way they turned out and in the end they were surprisingly easy.
Be sure to follow me on Instagram to keep up to date on which projects I have on the go and and all that goes with it @harlowandthistle .


3 comments
You literally transformed the space with this tiny project. Tiny project with huge impact. Loves it!
ReplyDeleteExcelente, Sigüenza ilustrando con tu conocimiento te felicito gracias
ReplyDeleteMuy muy lindo. Lo intentaré. Muchas gracias.😊🥰
ReplyDelete