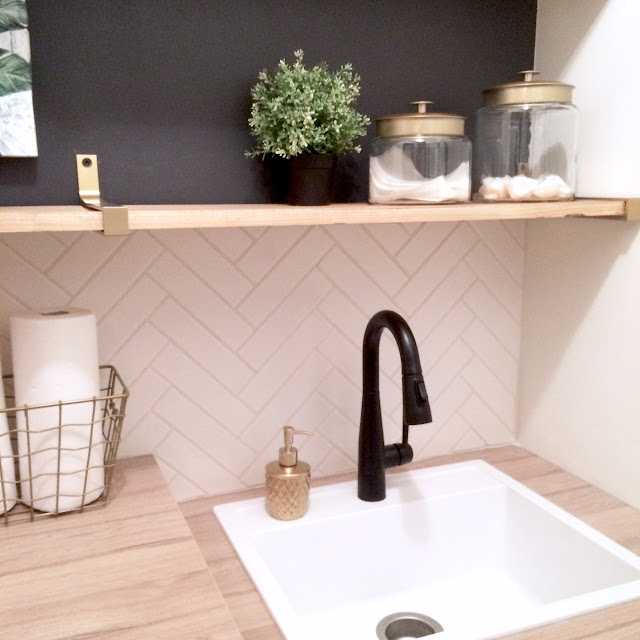
How to install a herringbone backsplash

by - 23:11:00

When my wallpaper fell through during my one room challenge laundry room makeover I quickly came up with a plan B to do a herringbone tile pattern backsplash. I've always loved the look of herringbone tile and thought it would be a good learning experience.


I purchased a pack of 2x8 white tiles, some tile adhesive, white grout, a manual tile cutter tool and a combination square.

how-to-herringbone-tile-backsplash-harlow-and-thistle-1

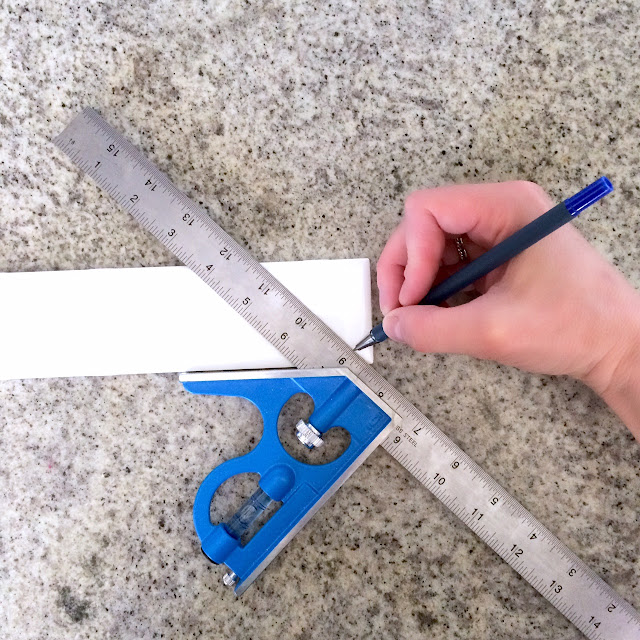
I started at the corner of one of the tiles and used a combination square to mark a perfect 45 degree angle. I used the 45 degree angel for all of my cuts.

how-to-herringbone-tile-backsplash-harlow-and-thistle-2

This is the manual tile cutter I used but you can get bigger ones (this one was very labour intensive).

how-to-herringbone-tile-backsplash-harlow-and-thistle-3

I found the center of the wall and drew a vertical line straight up.

how-to-herringbone-tile-backsplash-harlow-and-thistle-4

Then I taped out my first few tiles on the line to make sure I was on the right track.

how-to-herringbone-tile-backsplash-harlow-and-thistle-5

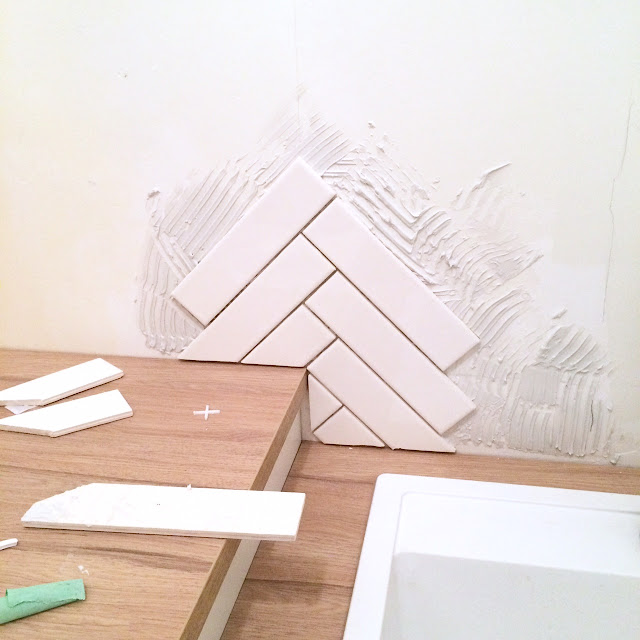
I used the tile adhesive to glue on the white herringbone backsplash.

how-to-herringbone-tile-backsplash-harlow-and-thistle-6

And continued until all the tiles were up.
how-to-herringbone-tile-backsplash-harlow-and-thistle-7
how-to-herringbone-tile-backsplash-harlow-and-thistle-8

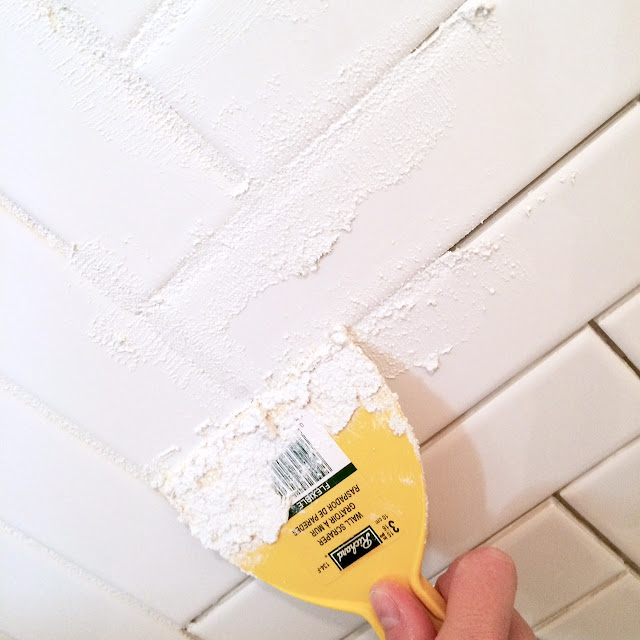
Next I applied the grout 
(I originally purchased grey grout but changed to white to hide any imperfections).  

how-to-herringbone-tile-backsplash-harlow-and-thistle-9

how-to-herringbone-tile-backsplash-harlow-and-thistle-10

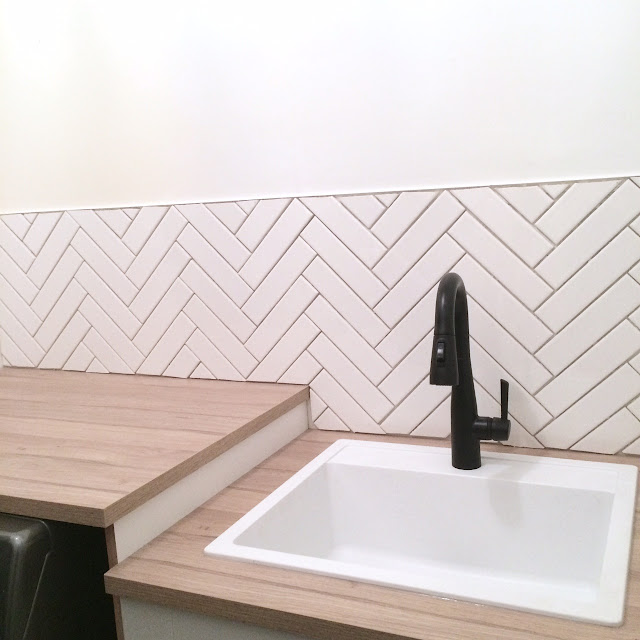
That was it. Two nights and my herringbone backsplash was done.

how-to-herringbone-tile-backsplash-harlow-and-thistle-11

how-to-herringbone-tile-backsplash-harlow-and-thistle-12

how-to-herringbone-tile-backsplash-harlow-and-thistle-13

I love this white herringbone backsplash - I think in the end it was a better choice for the laundry room.

You May Also Like

1 comments